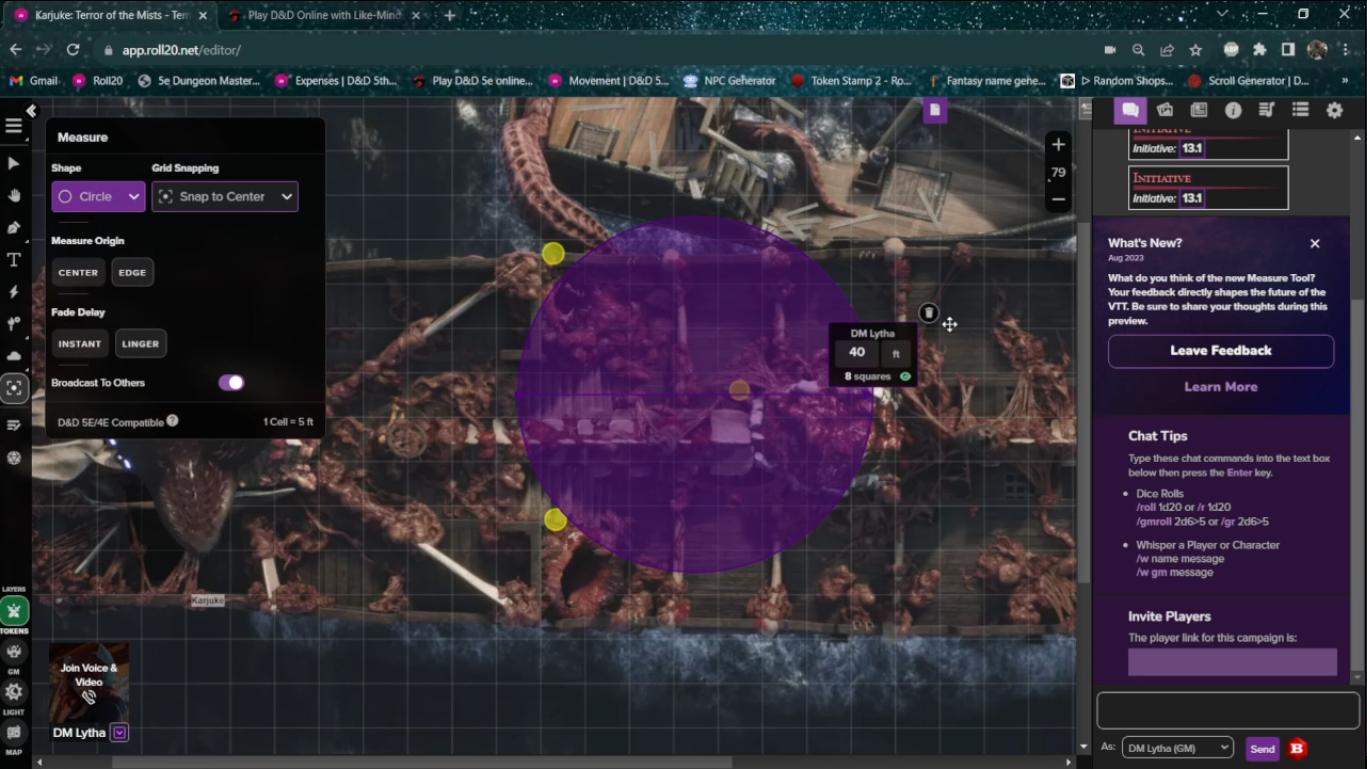
Explore Roll20's redesigned Toolbar UI and Measuring Tool with DM Lytha. Discover new features, from the Settings Menu to the Spell Effects Tool, and master the Measuring Tool for precise gameplay.
How to Create Multi-Sided Tokens in Roll20
Hi Guys, DM Lytha here and today we’re going to go over how quick and easy it is to set up Multi-Sided tokens for your shapeshifters or any other token you want to have different token options for a single character sheet.
Creating a Multi-Sided Commoner Token
For this video example, I will be making a multi-sided commoner token, which allows me to have a variety of commoners on the map, without having to create different character sheets for each one!
Gathering Token Images
To start off, make sure that you have all the token images you want for your multi-sided token. In this case, I have 3 adult tokens; Androgynous, Female, and Male, and 2 children tokens; a Little Boy and a Little Girl.
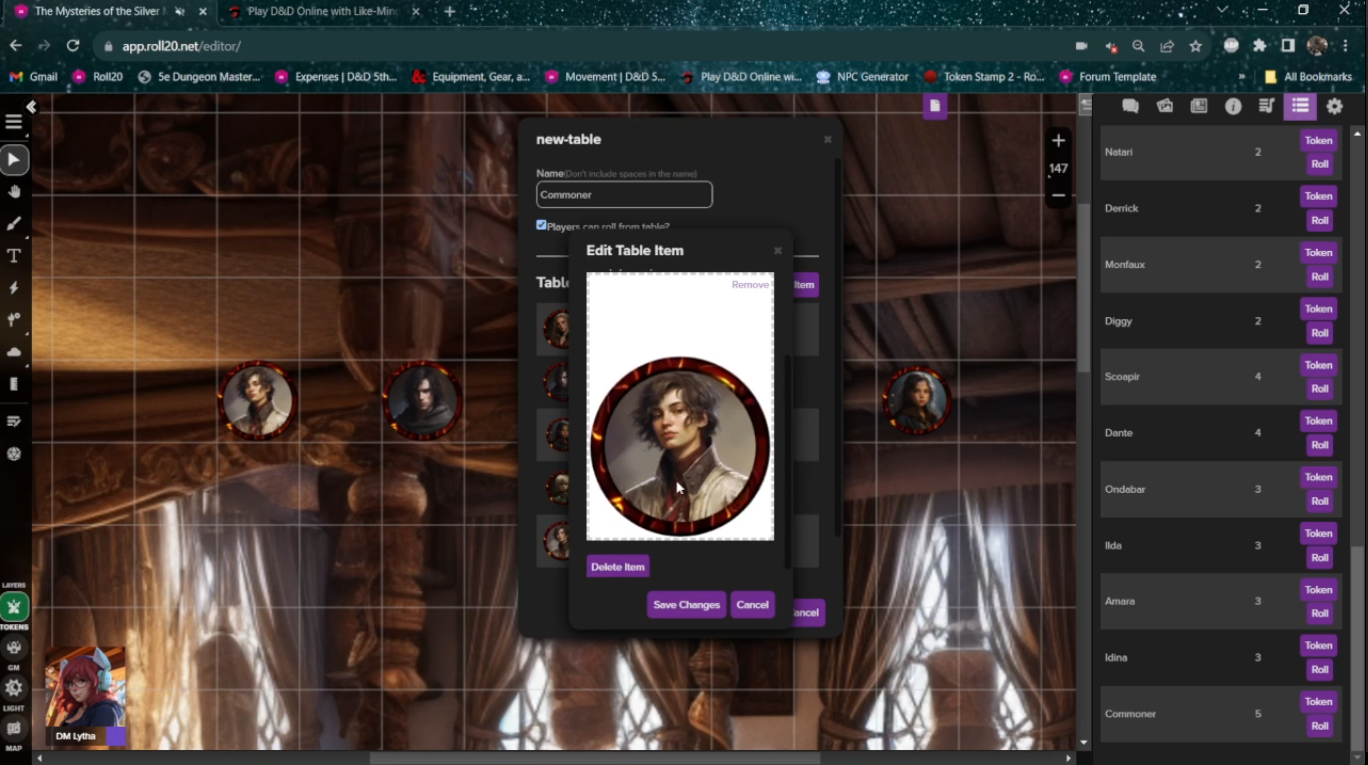
Accessing the Roll Tables
Once you have all your images ready, go to your collection, which is right between the jukebox and the settings. From here, scroll down to the “Roll Tables,” ignoring both the Macros and Decks, and click the “Add” button, this creates a new empty roll table that populates at the very bottom of the list.
Setting Up Your Roll Table
Scroll down to the very bottom and you can see your new table here. To open the table, click on the word “new-table,” which pops up your table settings. From here, you can rename your table, which in this case will just be “Commoner.” This is also where you will be adding all the images for your multi-sided token.
Adding Token Images
To add an image to your table, click the “Add Item” button, this pops a small menu for you to add an image and name it. To add an image, you can either click on the “Choose a file” button in the Icon box, or you can simply drag and drop the image into the icon box, which I find is a lot faster. Each image we add becomes a “side” of the token, which we’ll be able to choose from once we’re done.
Building Your Multi-Sided Token
We’ll start with the Androgynous token and continue to add each item one at a time, making sure we remember to hit the “Save Changes” button so we don’t lose our progress.
Completing Your Multi-Sided Token
Here’s our Female and Male tokens. Next the Little Girl and finally the Little Boy. Once you’ve added all the images you wanted to, we hit “Save Changes” and go back to the collection. Your new table should now show its appropriate name in the list, and it’s always a good idea to reopen it to make sure all the images are saved properly before we move to the next step.
Implementing Multi-Sided Tokens on the Map
Now that we’ve finished adding all those in, we can click the “Token” button that’s next to our new table. This generates a token onto the map that you, the GM, are currently on, so it’s important to make sure that the cell size on your map is at the default setting to avoid any sizing issues. Now when you right-click on the token you can see a new option “Multi-sided”.
Using Multi-Sided Token Options
By hovering over the “Multi-sided” option is reveals 2 options; Random side and Choose side, which both work exactly as named. The “Random Side” changes the token to a random “side,” while the “Choose Side” pops up a small menu with a slider, which allows you to scroll through all the “sides”. Scroll to the side you want to be the default side and click “Choose”.
Customizing Your Multi-Sided Token
Now we can go into our token settings and set-up our token as we normally would, but making extra sure that we’re selecting the correct character sheet in the “Represents Character” drop-down menu. Let’s get the Nameplate, HP, and AC in here. Of course, each GM likes to set up their tokens in their own way, so just set them up as you would usually.
Saving Your Multi-Sided Token Settings
Once that’s done we click on the “Update Default Token” button, this automatically updates the default token on the selected character sheet. Now we can drag and drop our multi-sided token onto any map from the journal and choose the side we want!
Conclusion
There you have it, I hope this video helps you make your next shape-shifting session run smoothly, and remember, this process gets faster and faster each time you do it. Thanks for watching!
Related Posts